I am back! It has been a crazy couple of months and I have been MIA from posting for almost 3 months, crazy! Well things have slowed down and I am back and ready to post.
First things first, thank you to all the soldiers past and present that have fought and continue to fight for our freedom! Your sacrifices are greatly appreciated.
We had a Memorial Day get together with friends this weekend. It has been awhile since we all have seen each other. We were asked to bring a side so I decided to make red, white, and blue jell-o cups!
Patriotic Jell-O Cups
Yields 12 cups
Ingredients:
2 small packages red jell-o
2 small packages blue jell-o
2 tubs of Cool Whip
Strawberries
Blackberries
1. Make the blue jell-o according to package directions and use the quick set method
2. Pour into the 12 cups in even amounts
3. Put in the fridge to set for 30-45 minutes
4. Make the red jell-o according to package directions and use the quick set method
5. Pour the jell-o on top of the blue jell-o in even amounts
6. Put in the fridge to set for 30-45 minutes
7. Spoon Cool Whip on top of each cup
8. Top with sliced strawberries and blackberries
9. Store in the fridge until ready to serve
You can obviously switch up the fruits and jell-o colors to make these cups work for any occasion!
Sunday, May 27, 2012
Sunday, March 11, 2012
A Very Hungry Caterpillar Birthday Party!
This past Saturday was the big day, Trey's 1st birthday party! I was so excited for this! I have been planning it for several months now. I decided to go with The Very Hungry Caterpillar theme because it quickly became one of Trey's favorite books. He sits there through the whole thing and lets you read it to him. This turned out to be such a FUN theme for a party, I am so glad I picked it! So much to show you from the party, let's start with the invitation.......
I found this awesome seller on Etsy (Jen Leonardini at Top That! Designs) who will do custom designed invitations and party printables for VERY reasonable prices. And her turn around time? SO FAST! I had all my stuff back in less than 24 hours! If she doesn't have exactly what you want she will create it for you! I highly recommend her for your next party!
Now on to the decorations:
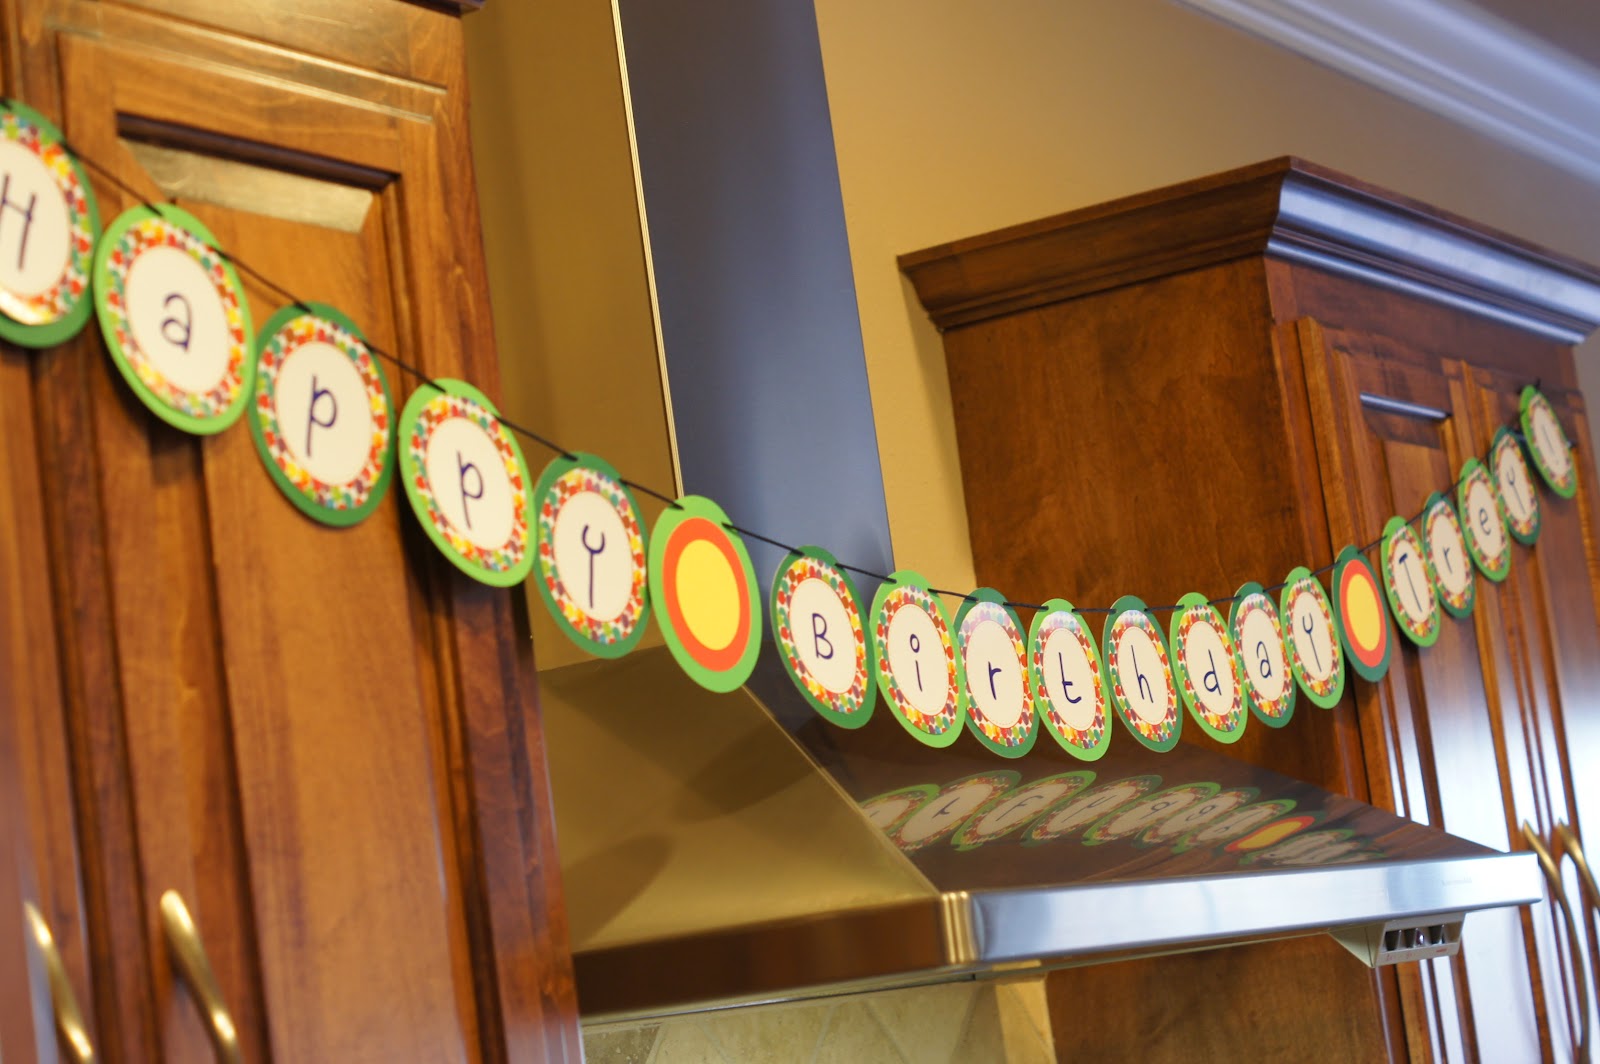
Coming up the driveway was a balloon path caterpillar (my idea). Inside we had a caterpillar made out of paper lanterns (idea from here), and a Happy Birthday Trey caterpillar banner (printable from Jen).
On the doorway was this super fun balloon wreath (idea and tutorial here), a photo wall of pictures of Trey from the last year, Hungry Caterpillar signs (printable from Jen), and a banner with Trey's monthly onesie photos.
I had Trey's cake smash picture printed as a 20x20 and then used Mod Podge to create this DIY canvas. Photo credits to Alicia, she is awesome!
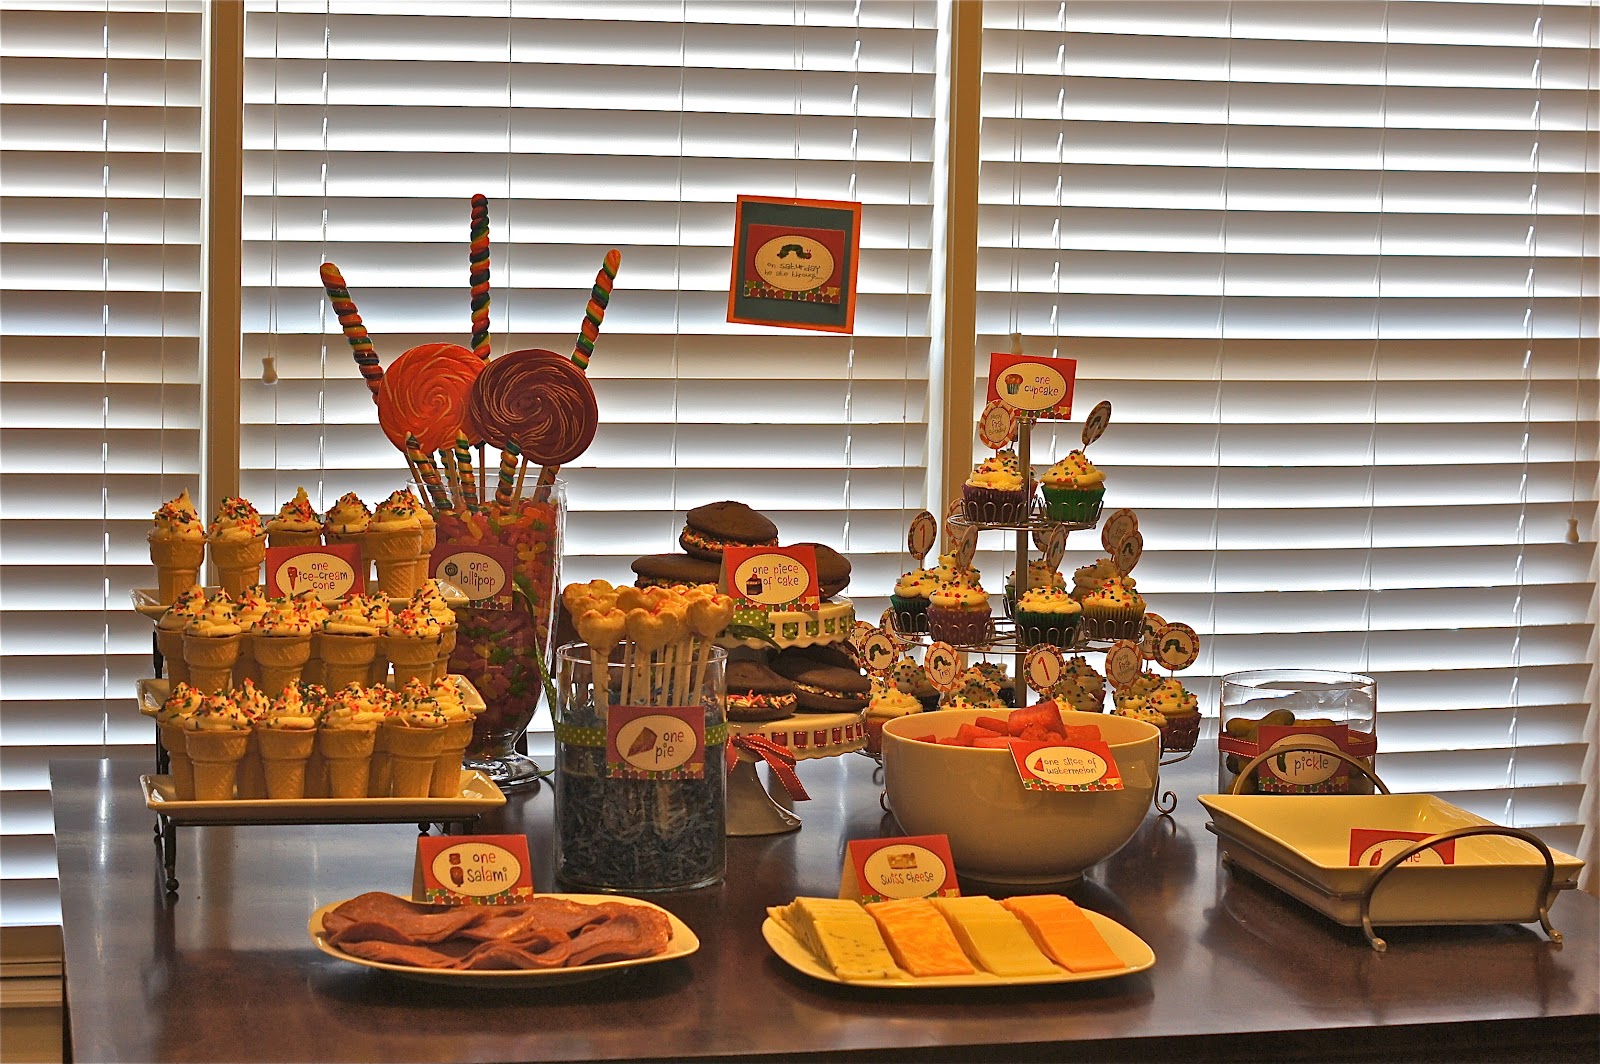
Now the food! Because the book is all about what foods he eats each day I decided to replicate that! They made for perfect party munchies. Monday through Friday was pretty straight forward.
On Saturday he ate TONS of fun food so I created the "Saturday" table.
I've got to give a few of these some close up!
I didn't want to deal with cake cutting so I did chocolate whoopie pies instead! They were yummy and easy to make. Recipe here!
Since putting ice cream out wasn't very practical I needed to find a solution. I have seen this all over Pinterest and decided they would be perfect! There is not a specific recipe I used for this, just made chocolate and vanilla cupcakes, poured the mix into the cone (only about half way full), and baked them!
The cherry pie pops turned out so good! This was my first attempt at this and definitely won't be my last! Recipe here!
And then the cupcake tree! With awesome personalized cupcake picks, once again from Jen!
What did we serve all this on? Colorful plates of course! I searched online for Hungry Caterpillar plates and napkins but could not find any, so I decided to tie into all the fun colors! And, I wanted to make sure I got some of those fun paper straws. They just look so cute! I found this great site with reasonable prices and lots of fun stuff, Shop Sweet Lulu.
And finally, the give aways! Little treat boxes with gummy worms for the kids, personalized Trey koozies for the adults, and water bottles for everyone! All files for the printables again came from Jen!
Here is a picture of us with our birthday boy! The shirt and hat (very first pic) were Etsy finds!
And here is some of the kiddos trying to figure out what the heck to do in the jump house!
Monday, March 5, 2012
Happy Birthday Trey!
Could it really have been a full year already? Surely not! I scheduled this to post at Trey's exact birth time, 11:07 pm. That's right, 1 year ago he barely made it in time to be a March 5th baby! Going into it, I thought full well I was going to have a March 4th baby. We had an appointment at the hospital for induction to begin at 6pm on the 4th. Silly, naive, first time mom me thought it was a short process. Hahahahaha! 29 hours later, here came our sweet baby Trey!
This past year has been amazing! Roy and I continue to manage our way through this new thing called parenthood and figure things out as we go. It has been quite the adventure. And our sweet little boy has made this so easy on us. I could not have asked for a better baby if I tried! Sleeping for 12 hours straight since 1 month old, eating all his new foods like a champ, being a mild tempered baby we can take everywhere. I could go on about how perfect he is but I won't bore you with my blabber!
Trey, you continue to amaze me everyday with how much you learn and grow all the time. You bring a smile to my face every time I see you. You are so sweet and perfect. Happy Birthday Sweet Boy! We love you!
Saturday, March 3, 2012
Happy March!
It's been awhile since I've posted. I've been busy getting things ready for Trey's 1st birthday party next weekend! More to come on that later. For now though, I thought I would share some St. Patrick's Day Cake Balls!
I love making cake balls, they are so easy and look so great! These were chocolate cake, cream cheese frosting, and white Almond Bark coating. Go here for the how to!
Sunday, February 12, 2012
Valentine's Day Cookie Bars
Holiday food day at work only means one thing, time to bake!
Valentine's Day Brown Sugar Blondies
makes a 9x9 pan
*Double the recipe if you would like to make it in a 9x13 pan.*
- 1 c. flour
- 1/2 tsp. baking powder
- 1/8 tsp. baking soda
- 1/2 tsp. salt
- 1/3 c. butter
- 1 c. brown sugar, packed
- 1 egg, beaten
- 1 Tbsp vanilla extract
- 1 - 1 1/2 c. Valentine's Day M&M's
Directions
- Mix together flour, baking powder, baking soda, and salt. Set aside.
- Melt 1/3 c. butter. Place it in a mixing bowl then add 1 cup firmly packed brown sugar; mix well and cool slightly. Add egg and vanilla and blend well.
- Add the flour mixture a little at a time, mixing well. Mix in about 2/3 c. of the M&M's.
- Spread in a greased 9x9 pan. Sprinkle more M&M's on top (about 2/3 c. more, or desired amount).
- Bake 20 to 25 minutes at 350 degrees.
Recipe from Cupcake Diaries
And of course, here is the picture of the fearless foursome all decked out for the holiday! Love these kids! Brynn's Daddy took the picture, great work Anthony!
Sunday, February 5, 2012
Super Bowl Sunday!
One of my favorite days of the year! What's not to love about it? Great football (usually), good friends, beverages, and yummy snacks! And on that note of yummy snacks I bring you chocolate peanut butter cookies! These puppies are delicious! Chocolate and peanut butter might very well be one of my favorite combinations of all time and this cookie marries them together perfectly!
I found this delicious recipe on one of my go to blogs for yummy desserts, Annie's Eats!
And here is a picture of Trey ready for the big game to begin! Happy Super Bowl Sunday everyone!
Tuesday, January 31, 2012
Bear Down Arizona!
If you know me then you know I am a HUGE Arizona Wildcat fan. And, so is my Mom and her side of the family. Well as basketball season is in full swing I decided a Bear Down wreath was in order! I do not have a typical front door so I don't ever get to showcase any wreaths. Therefore, I decided to make one for Mom's door!
I think my favorite part of this one is the Bear Down sign, all glittery and pretty! Simply take a piece of wood and use Mod Podge to put any kind of scrapbook paper onto it. Then paint wooden letters in a matching color and hot glue gun them on. I added a Wilbur the Wildcat sticker as well that I got from The University of Arizona bookstore! Drill a small hole on each side of the sign and attach to the wreath using floral wire, just as you did for the poly mesh and the bulbs.
Oh and the basketballs are on "picks" so they can be removed and replaced with footballs when fall comes! A dual season wreath!
Subscribe to:
Posts (Atom)